
In the fast-paced world of digital content creation, having access to a reliable and powerful AI image generator can be a game-changer. Whether you’re a graphic designer, marketer, or just someone who loves experimenting with visuals, the Flux AI Image Generator offers a robust solution for creating stunning images. The best part? You can use it for free. This guide will walk you through everything you need to know about using Flux AI Image Generator without spending a dime.
What is Flux AI Image Generator?
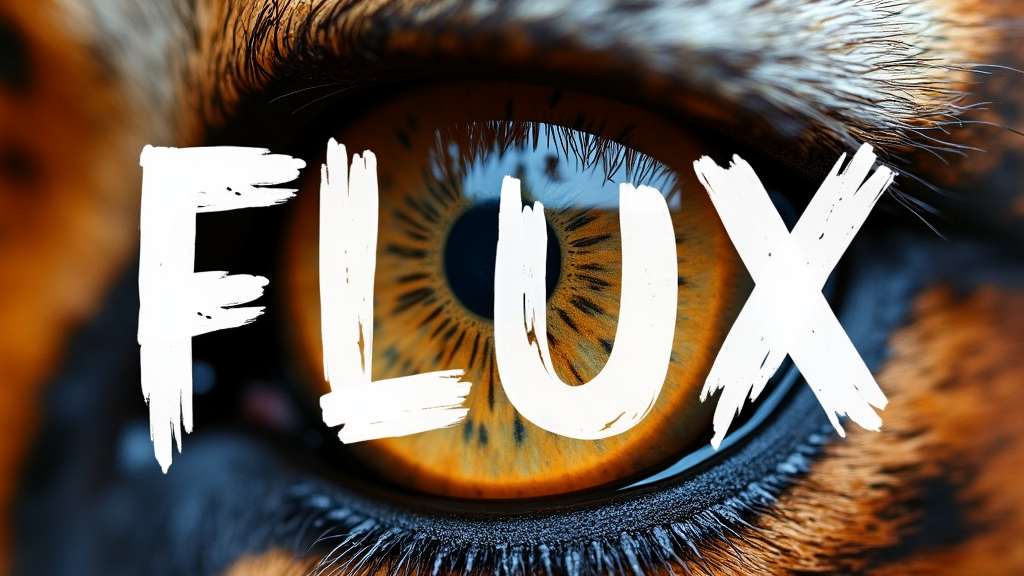
Flux AI Image Generator is an advanced tool that leverages artificial intelligence to create high-quality images from text descriptions. Whether you need a simple logo or a complex scene, Flux AI can generate it in just a few clicks. This tool is particularly useful for creating custom images for social media, websites, presentations, and more. Its ease of use and powerful AI make it a go-to tool for both professionals and amateurs.

Step 1: Sign Up for a Free Account
The first step to accessing Flux AI Image Generator is signing up for a free account. Visit the Flux AI website and look for the sign-up button. You’ll need to provide your email address and create a password. Once you’ve signed up, you’ll receive a confirmation email. Click the link in the email to verify your account and get started.
Step 2: Navigating the Dashboard
After signing in, you’ll be directed to the Flux AI dashboard. The user interface is clean and intuitive, making it easy to find your way around. On the left-hand side, you’ll see options for different tools and features. The main section of the dashboard is where you’ll enter text prompts and generate images.
Step 3: Inputting Text Descriptions
The core of Flux AI Image Generator is its ability to create images from text descriptions. In the input box on the dashboard, type a description of the image you want to create. For example, if you need an image of a “sunset over a mountain range,” type that into the box. The more detailed your description, the better the AI will be able to generate the image.
Flux AI allows you to add various attributes to your description, such as color, style, and mood. For instance, you can specify “a bright sunset with orange and pink hues, over a snow-capped mountain range, in a minimalist style.” The AI will then use these details to create a more tailored image.
Step 4: Generating the Image
Once you’ve entered your description, click the “Generate” button. The AI will take a few moments to process your request and create an image based on your description. You’ll see a progress bar as the image is being generated.
Flux AI typically offers a few variations of the image for you to choose from. This allows you to pick the one that best fits your needs. If you’re not satisfied with the first set of images, you can tweak your description or regenerate the image to get different results.

Step 5: Downloading and Using Your Image
After you’ve selected the image you want, the next step is to download it. Flux AI allows free users to download images in various resolutions. Higher resolutions may be available through a paid subscription, but the free version still provides sufficient quality for most online uses.
To download your image, click on the “Download” button and choose your desired resolution. The image will be saved to your computer, and you can use it in any of your projects.
Also Read: How to Add Music to Your Instagram Profile
Step 6: Exploring Advanced Features
While the basic image generation features are free, Flux AI also offers advanced options that might be worth exploring if you need more customization. These features include higher resolution downloads, batch processing, and access to exclusive styles and templates. Some of these features may require a paid subscription, but Flux AI often offers trials or limited-time access to these tools.
If you’re using Flux AI for commercial purposes or require images frequently, upgrading to a paid plan could be beneficial. However, for casual users or those just starting out, the free version provides ample functionality.
Step 7: Tips and Tricks for Better Results
To get the most out of Flux AI Image Generator, here are some tips:
- Be Specific: The more detailed your description, the better the AI will perform. Include colors, styles, and other attributes in your prompts.
- Experiment: Don’t be afraid to try different descriptions or settings. The AI is flexible and can produce a wide range of styles and moods.
- Use Variations: Generate multiple versions of an image to find the one that best fits your needs.
- Incorporate Feedback: If the AI doesn’t produce what you’re looking for, refine your description based on the output and try again.
Conclusion
Flux AI Image Generator is a powerful tool that offers immense creative possibilities, all for free. By following this guide, you can easily start generating high-quality images that fit your needs, whether for personal projects or professional use. With its user-friendly interface and advanced AI capabilities, Flux AI makes it easier than ever to create stunning visuals with minimal effort. So why wait? Sign up today and start exploring the endless possibilities of AI-powered image creation!